BBZZ Support & Resistance Strategy
A disciplined support/resistance (S/R) approach designed for liquid FX pairs on H1–H4.
It focuses on objective levels, patient entries, and measurable risk.
Tools
- S/R levels drawn from H4–D1 swing highs/lows and session ranges.
- ATR(14) for stop distance and position sizing.
- Optional: Session indicator (London/NY), round numbers, volatility filter.

Market logic
- Price reacts to prior decision points (support turns to resistance and vice versa).
- Breakout without acceptance often reverts; acceptance with pullback can launch trend legs.
Level selection
- Mark clean H4–D1 levels touched ≥2 times with visible rejections.
- Prefer confluence: round numbers, previous day high/low, VWAP bands.
- Avoid clutter; keep the chart to 2–4 key levels.
Entries
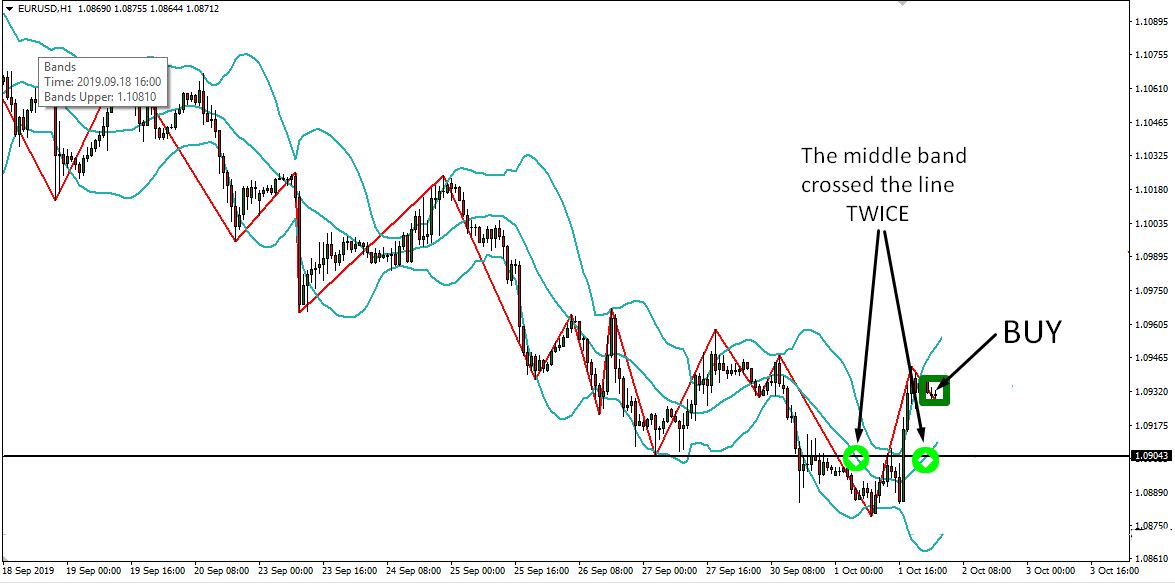
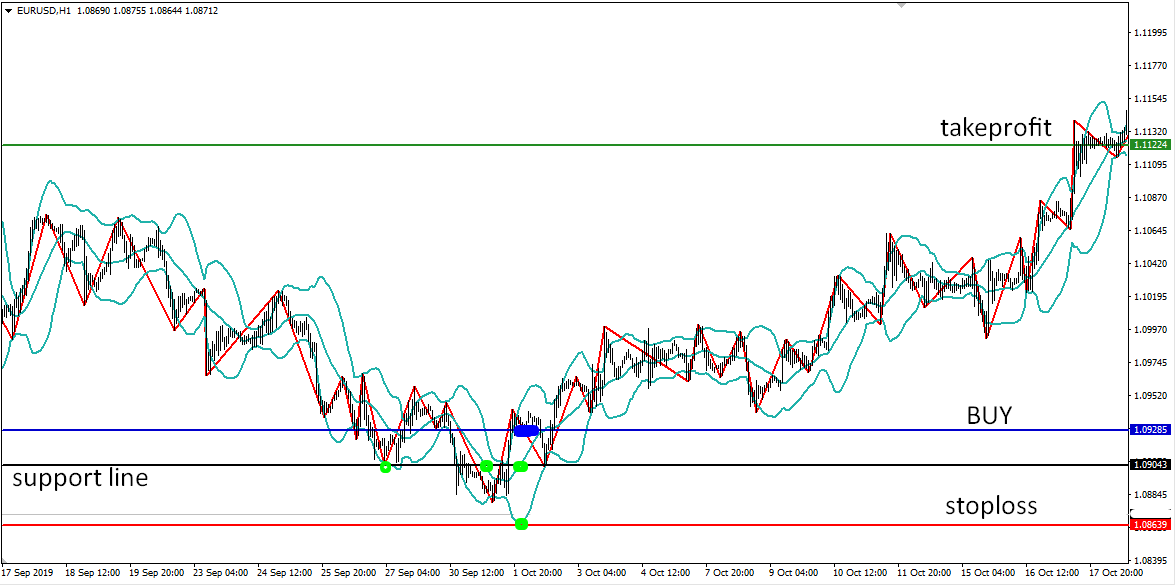
- Breakout–Pullback (primary): after a close through the level, enter on the first pullback that rejects it from the other side.
- Rejection (secondary): wick test of the level that closes back inside with momentum.

Stop Loss
- Place beyond the opposite side of the level (buffer = spread + ATR(14)×0.5).
- If volatility expands, widen by ATR multiple and reduce size.
Take Profit
Choose one method and be consistent:
- R-multiple: 2R or 3R target.
- Next structure: partials at next S/R, runner trailed by structure/ATR.
- Time-based: close at session end if neither TP nor trailing hit.

Management
- Move to breakeven once price closes one candle beyond the level.
- Trail behind minor swing structure or ATR(14).
- Stand aside 1 hour before top-tier news (rates, CPI, NFP).

Risk
- Risk ≤ 1% per trade, max 3 concurrent trades per pair.
- Align with higher timeframe bias (H4/D1).
- Backtest and forward-test before going live.