EURUSD M5 Divergence + Accumulation Strategy
Fast M5 plan that combines momentum divergence with accumulation at levels.
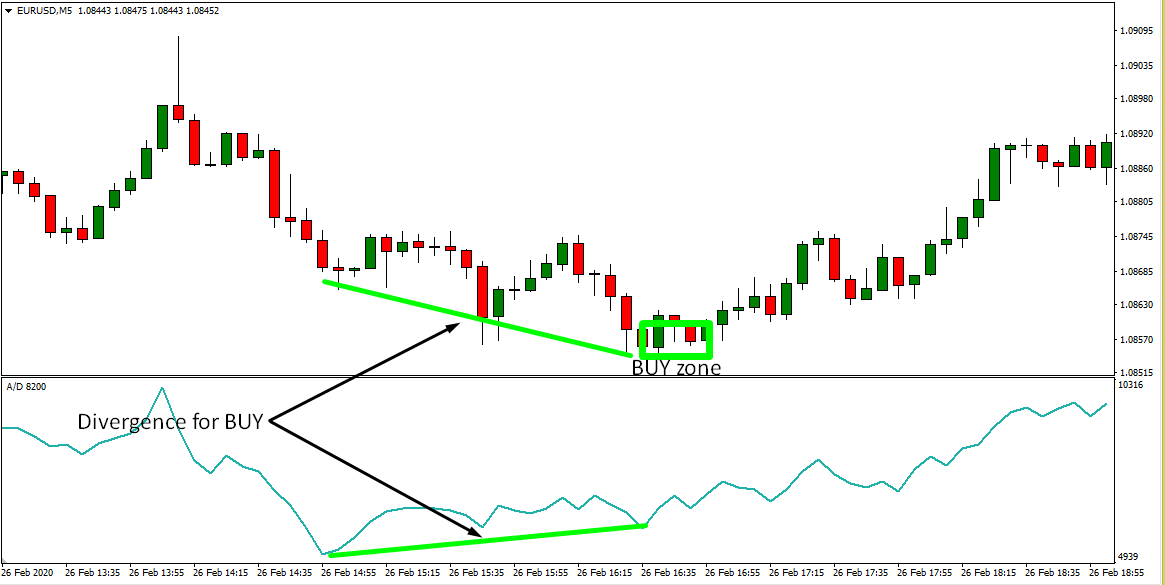
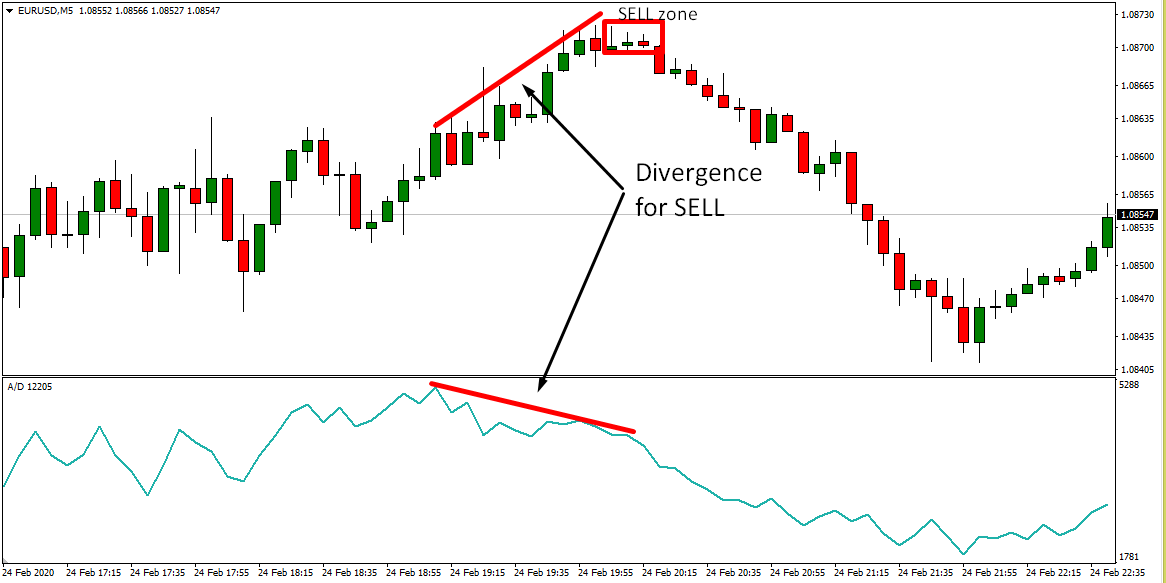
We look for price vs oscillator divergence into a well‑tested level, signs of absorption/accumulation, and a reclaim trigger back through micro‑structure.
Tools
- Oscillator (RSI 14 or MFI 14) to spot divergence at extremes.
- Session levels: prior day H/L, intraday highs/lows, round numbers.
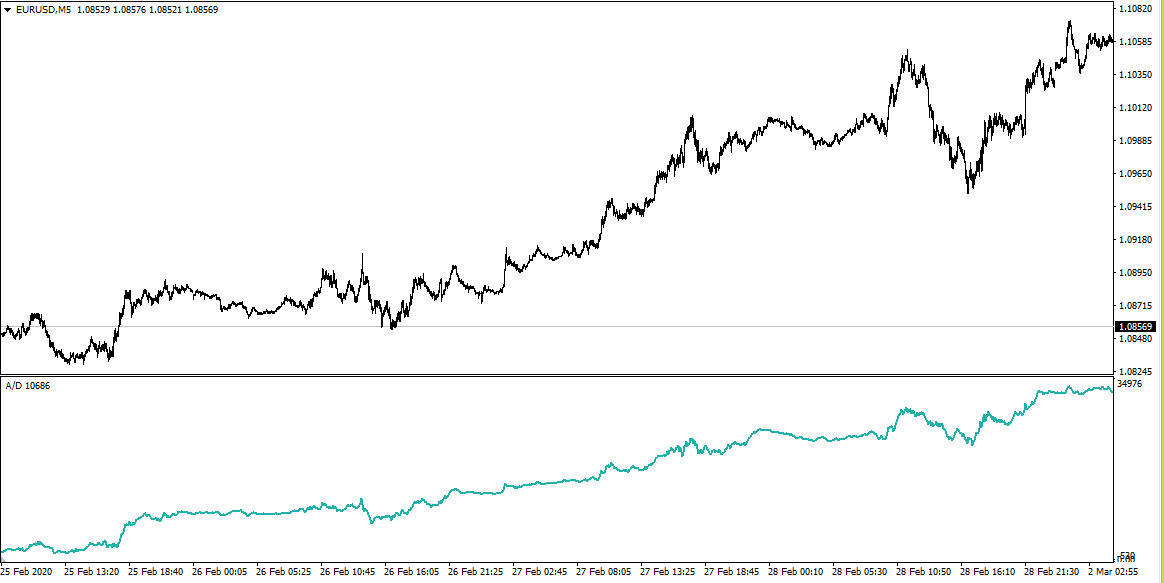
- Volume/A/D (optional) to judge absorption/accumulation.
- ATR(14) (on M5) for stop/size.

Signal definition
- Bullish: price makes a lower low into level while oscillator makes a higher low.
- Bearish: price makes a higher high into level while oscillator makes a lower high.
Trigger (the reclaim)
- Mark the decision level (last micro swing or box edge).
- Enter on a close back through that level (engulfing/rejection).
- No trigger within 3–6 bars → skip.

Entry & Management
- Entry on close of the trigger candle, or limit near the reclaim if structure allows.
- Scale out 1/2 at 1.5R–2R; trail the rest behind micro‑swings.
Stop Loss
- Beyond the extreme wick of the setup leg or ATR(14) × 1.2–1.8.
- Add a small buffer for spread.
Filters
- Avoid first 2–3 minutes after a major news release.
- Skip during dead liquidity (post‑NY close) or wild chop.
- One active position per symbol; risk ≤ 0.5%–1%.
